HOME | BOOSTER | CEMETERIES | EDUCATION | GHOST TOWNS | HEADSTONE
MINOTTO | PICTURES | ROADS | JACK SWILLING | TEN DAY TRAMPS
Arizona Pioneer & Cemetery Research Project
Internet Presentation
Version 101211PR

By Pam (Milliken) Redmond
I
got into genealogy when my wonderful husband said I could quit work and stay
home. I gave two week notice and started my treasure hunt of my ancestors with
the help of relatives, it filled my day. I also joined a free website called
findagrave.com and became a volunteer photographer for people requesting
pictures of their loved ones headstone’s for the information on the headstone.
It made me sad when I had to reply that that individual had no stone. I wished
I could help and do something about it. I had also discovered how hard it was
to find the women in our past since the name changed and wanted to make sure I
could be found by my ancestors by putting my married name on my father’s
headstone except the engraver wanted $160.00 per line and I needed two lines
for my sister and my name to get added, remember, we are now living on one pay
check so I try to watch our money.
After
talking to the cemetery and finding out their rules and regulations, I decided
to make my own stone and place it at my father’s grave as a footstone but
didn’t know how to go about making my own stone and wanted to save money, so I
searched the internet and found only one site that was making headstones and
even gave instructions and that was Neal’s www.apcrp.org website. I sent Neal
off an email and he replied and we exchanged phone numbers and that’s how I got
started making headstones.
Thank
goodness for Neal, without him my project would have never come about. He’s a
great guy, willing to share information and he gave me lots of advice, praise
and encouragement. I will never be able to sing his praises enough. Thanks to
him I am now getting involved and currently working with a local country
cemetery here in Skiatook, OK., called
Hillside Cemetery, making grave stones for the graves with no
markers and replacing some that have
been broken. I met with the cemetery board and showed them my work and asked if
I could help. They turned over a copy of cemetery records and a list of approximately
108 names needing stones. They are furnishing the mortar mix and I am making
the stones at no charge. I feel they are doing me the favor since I enjoy doing
this, showing respect and helping preserve information.
Here’s
how to get started: First rule is always
check with the cemetery for any rules and regulations and this will give you
the size dimension you will need to make your wooden frame from 2x4 or 2x6
lumber and a plywood backing, held together with wood or deck screws. That way you can take the
frame apart, clean and reuse the frame over again.
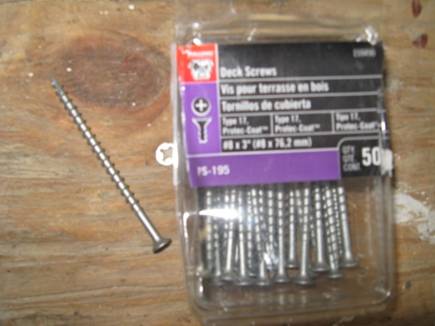
I use
#8 3inch deck wood screw purchased at Wal-Mart or Lowe’s/Home Depot etc
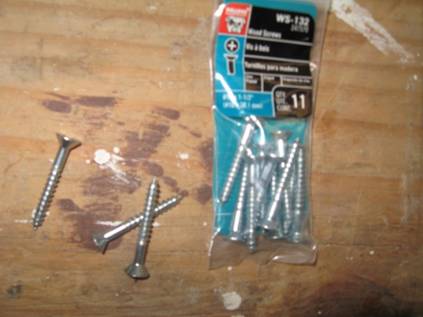
#
10 wood screw size 1 -1/2 inches
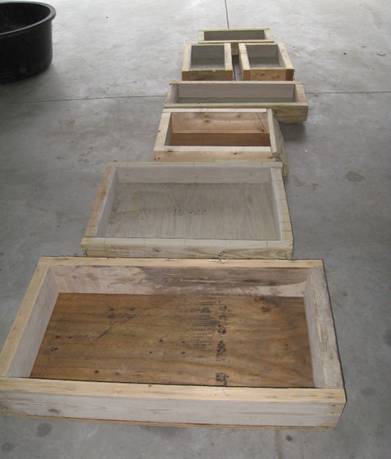
I’ve
made several different size frames over the past few months as my projects
expand.
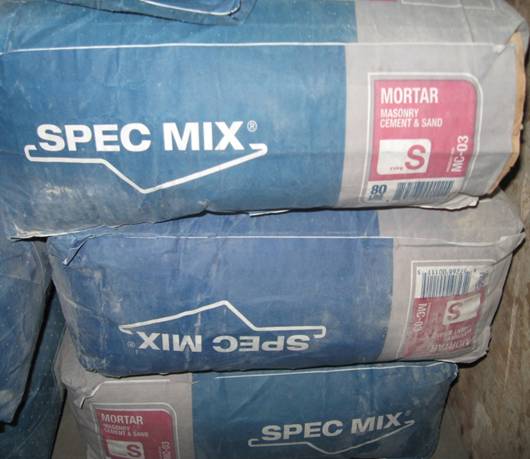
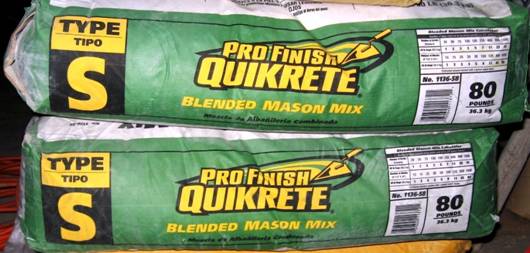
I
use 80 lb. bags of MORTAR mason mix TYPE S which is super strength and
professional grade. You can get it at any Lumber company such as Lowe’s or Home
Depot and any brand will work as long as it’s MORTAR, it has no gravel to mess
up the lettering. It runs about $ 5.00 - $ 6.00 per 80 lb. bag.
DON’T
use cement mix which has gravel for making headstones.
Depending
on your area and humidity you may have 30 minutes -1hour of work time before it
sets up and hardens so you want to have everything laid out with-in reach and
no distractions. I set up my IPod and listen to my favorite music.
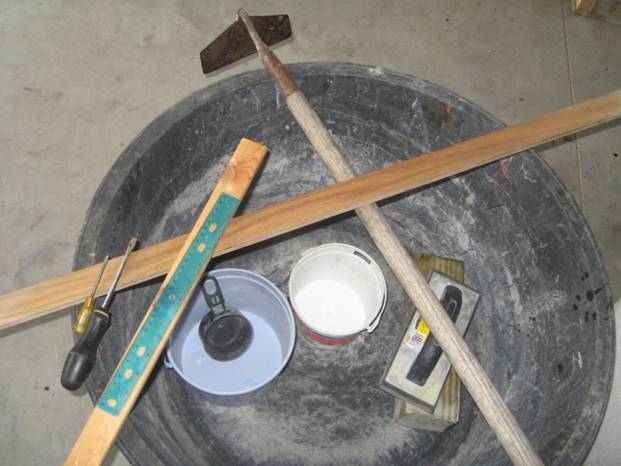
Here
are some of the supplies you will need to get started; I already had these
items in the garage.
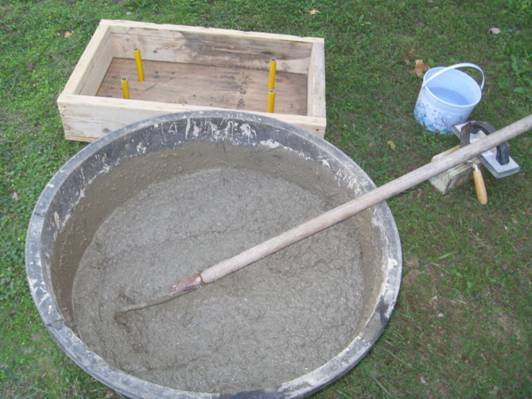
Big
rubber tub I purchased at the local feed store (it used to be my water garden
tub)
Hoe
for mixing
5
gallon Buckets of water one for mix and one for cleaning supplies or pull the
water hose over to you
Smaller
buckets (had purchased from Dollar General full of Christmas cookies) for
scooping out the mortar mix and rinsing the letters off as they are used over
and over
Wood
4x4 for stamping the mortar into the frame and removing air pockets
Rubber
float/trowel for smoothing the surface of the wet mortar (rubber doesn’t rust)
Straight
edge and ruler for placement of lettering
Flat
head screwdriver for picking out any imperfections and work on letters
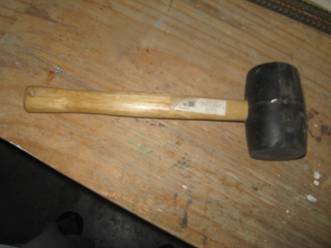
I
use a rubber mallet or you can use a piece of 2x4 for tapping around the edge
of the wood frame to help settle mortar into the frame and work out any air
bubbles
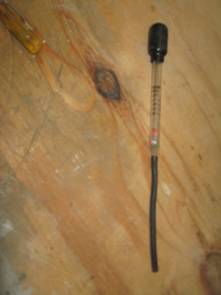
Use
some type of syringe to suction out excess water is you get the mix too wet;
excess water may cause your letters to collapse
Use
quarter in to half inch spacing on placement of letters in your mortar for the
headstone
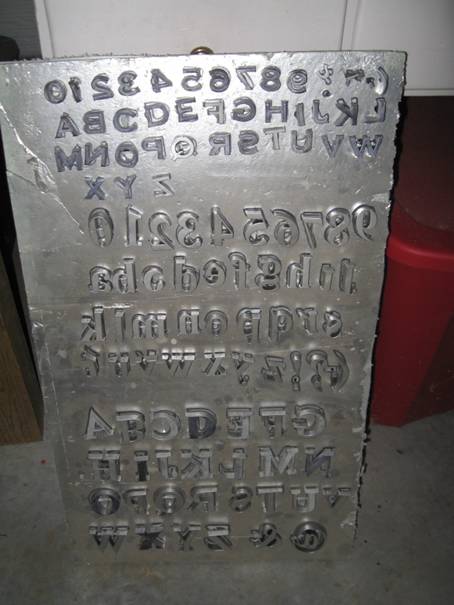
Three
different size lettering depends what size your frame is as to which lettering
size you need. I purchase them at Magnetic Poetry.com website They are called press-in letters and cost $12.95
per set and I use mainly the Classic Typeface # 6090 or the Traditional
uppercase # 11760 or Traditional lowercase
#11761 Pressed into foam to keep them organized and easily accessible. Spray
them with silver or gray paint while in the foam to leave impression of the
letter on the foam so you know where to return it to after its use. I used gray
just in case any paint came off in the mortar mix it wouldn’t stand out.
Also
from Hobby Lobby I use press in letters from the cake decorating section (Don’t
forget to use the 40% off coupon out of the Sunday paper, they run it every
other week) I try to save money.
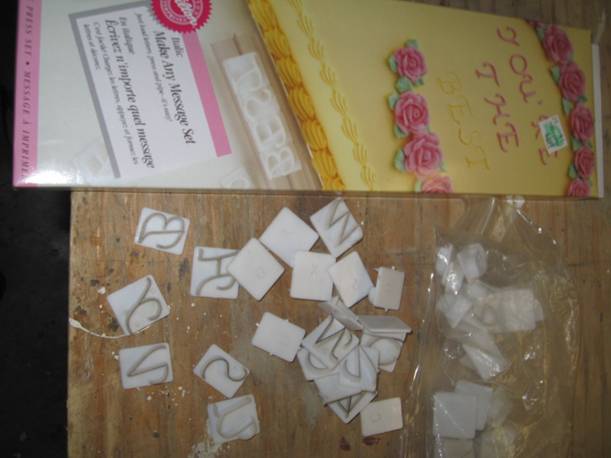
Press
in letters in Italic for month of birth
or death on headstone set Costs about $8.99 these are handy for smaller
spacing, they can be placed much closer than even the quarter in spacing and
still look good
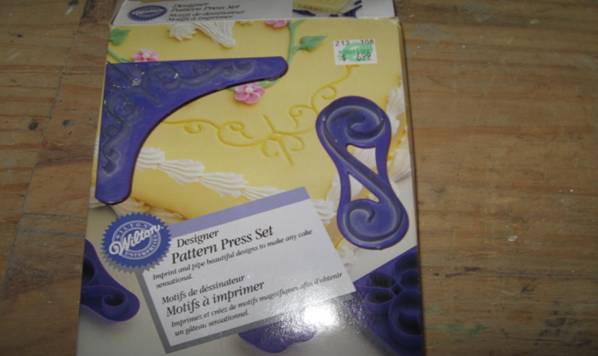
Press
in pattern for the corners of the headstone to dress it up and the scroll to
separate dates, set cost’s $6.99 and even use some cookie cutters like the
plastic cross
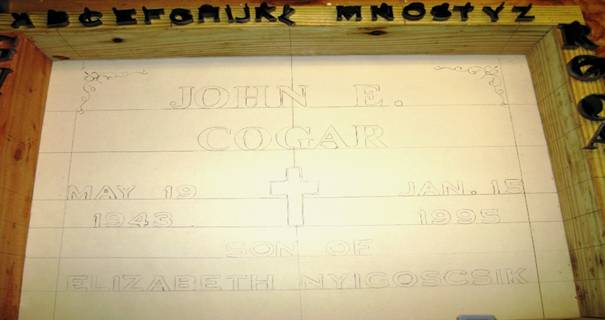
Using
the backside of an old roll of Christmas paper I make a template for the
placement of letters the exact size of my frame, this piece of paper fits the
inside measurement of the frame. I mark the center and where I want the line
spaces to be, also mark the top edges of the wood frame so I know where to set
my straight edge and ruler. I set the letters on top of this paper and use a
quarter inch space between the letters then make note of where the first letter
of the name, date etc. starts and ends.
I reuse this one piece of paper over and over.
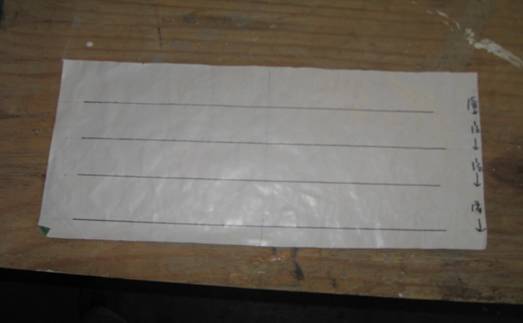
You
can even use an ink stamp pad if that helps you get an idea of what your
headstone will look like in the end. This is my father’s footstone template.
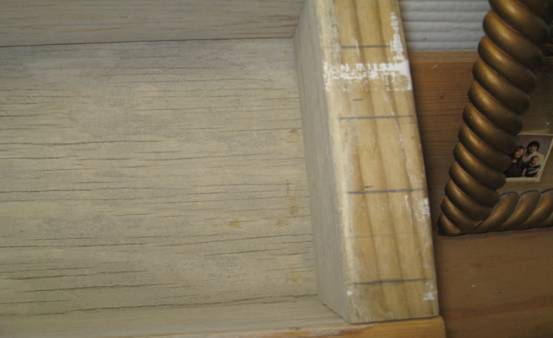
Use
a pencil to mark your lines on the wood frame, that’s where you will set your
straight edge and ruler
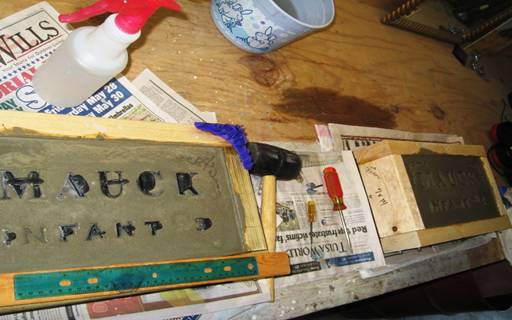
My
work bench
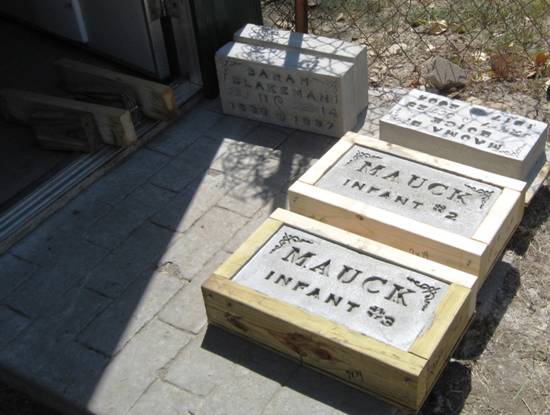
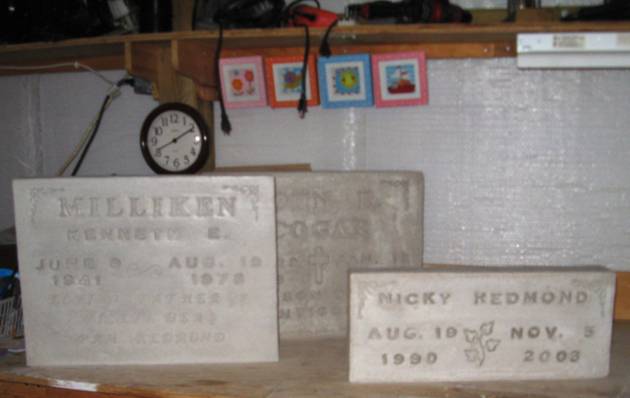
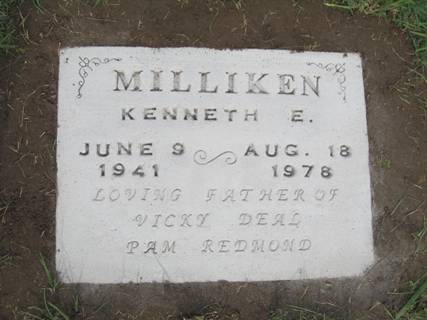
Here’s
a few of the stone’s I’ve made, your only limited to your imagination
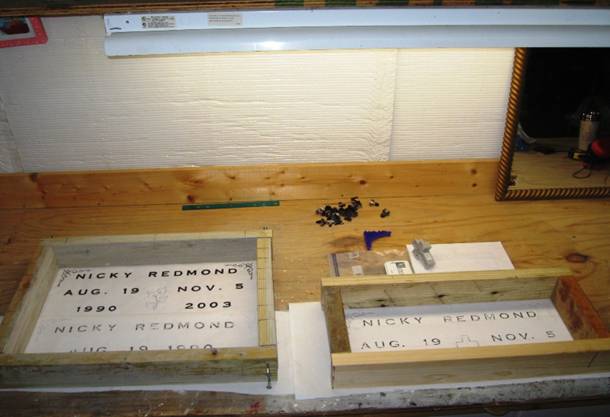
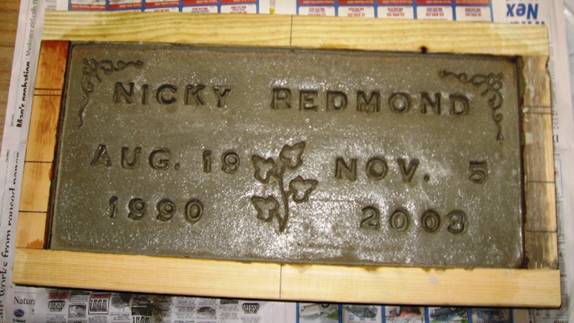
These
are pet headstone’s I’ve also branched off into making for myself and relative’s
pets, the stones are still wet.

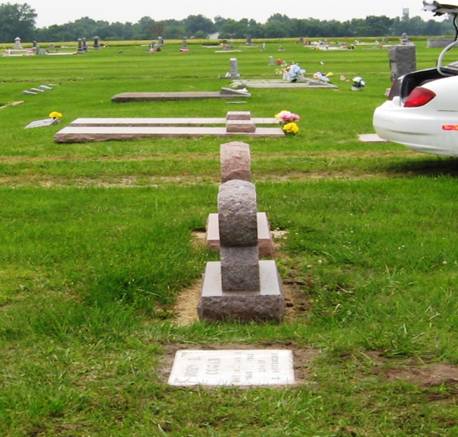
This
one is set in Walnut Kansas, see below photo
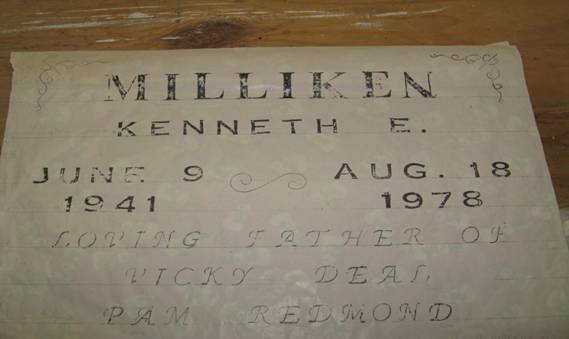
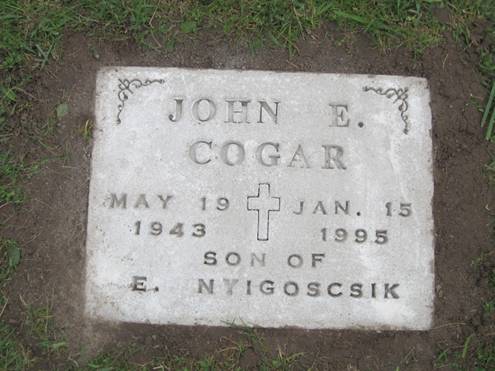
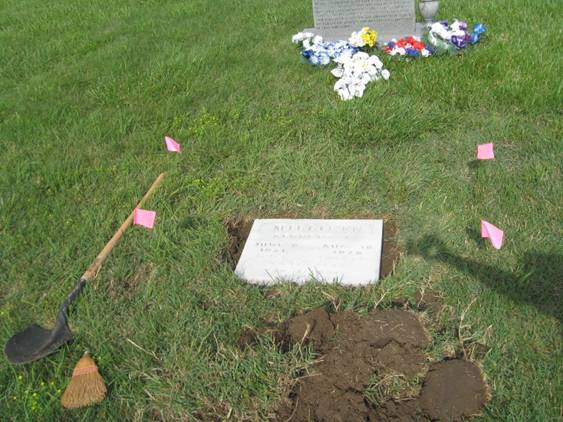
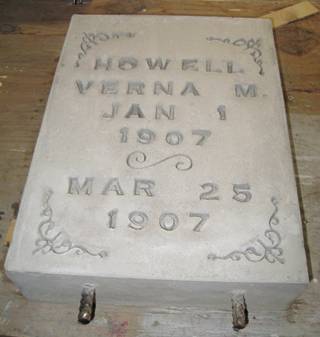
This
is my father’s footstone and is set in Niotaze Kansas, the cemetery flagged it
out for me, see below photos.
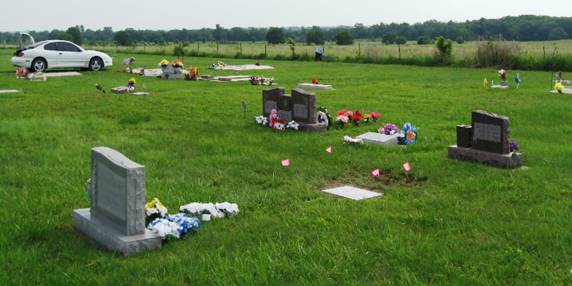
Niotaze
Kansas Fairview Cemetery
I
was recently asked to make a CEMENT BASE for a V A Marker the veterans are given
after death for a relative. The mortuary wanted approximately $140.00 for the
cement base that the marker is mounted to and then set in the ground. The
cemetery charges approximately $250.00 for the cement base and setting the
stone in the ground. As always I called the cemetery and asked the requirements
and measurements of the cement base, they want it to be at least four inches
thick and two inches wider on all edges than the marker itself so that means 4x
16x28 is the size of the cement base. When it’s ready they will flag out the
spot it should be set and you can do this yourself also. Remember all
cemetery’s have different rules so always check with them first to save any
headache’s later.
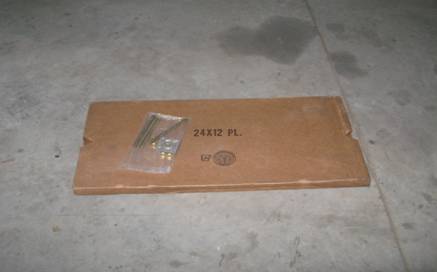
Here’s
how it came, shipped in a box to the mortuary and I went and picked it up from
them. It measure’s 12x24 it’s metal and a little heavy, comes with 4-5inch
bolts, nuts and washers
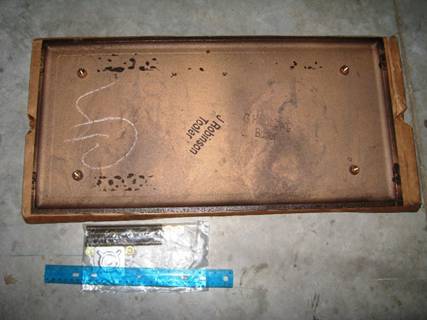
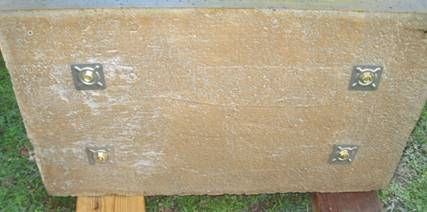
This
is the backside view that the bolts screw into
Make
a frame for it and drill holes for the bolts to slide thru and bolt underneath
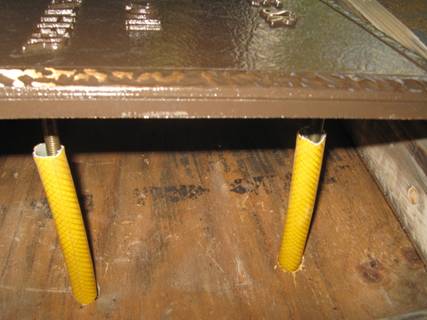
I
used and old garden hose cut into four pieces and stuck thru the drilled holes
on the frame bottom
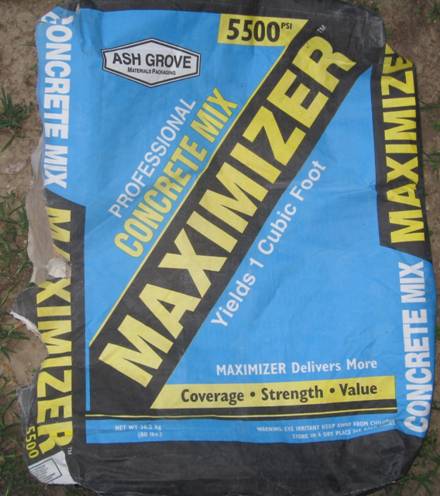
I
used Concrete MIX for the base on the V A Marker
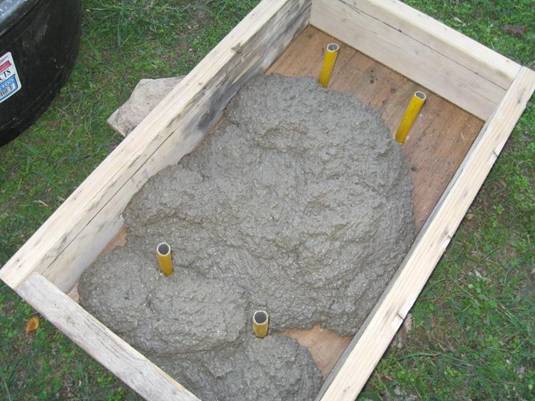

Use
a stick under the metal V A marker to keep it from sinking into the cement and
keep your holes lined up straight.
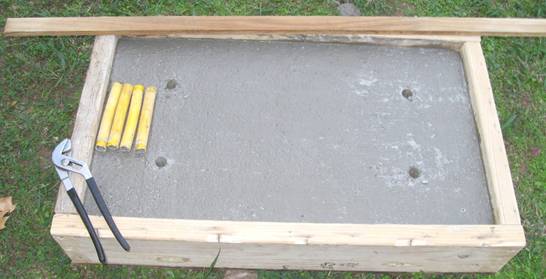
The
next morning I pulled the hoses out with pliers
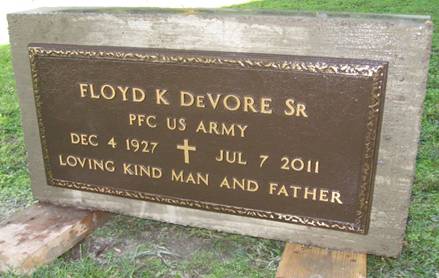
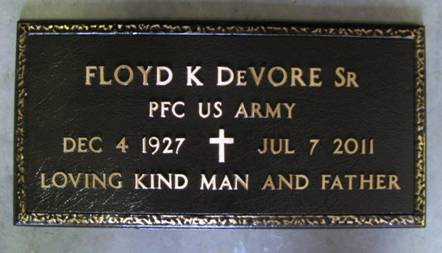
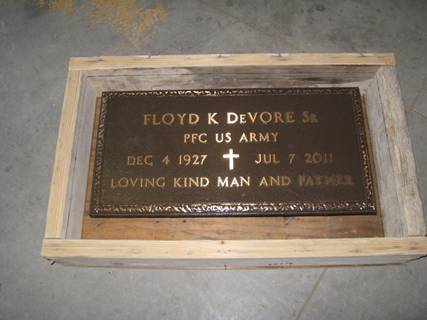
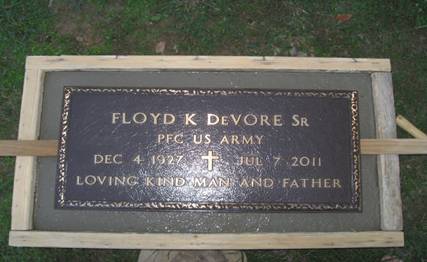
Here’s
the V A Marker mounted to the cement base I made of cement
The
bolts slide thru the holes and are screwed on with a nut
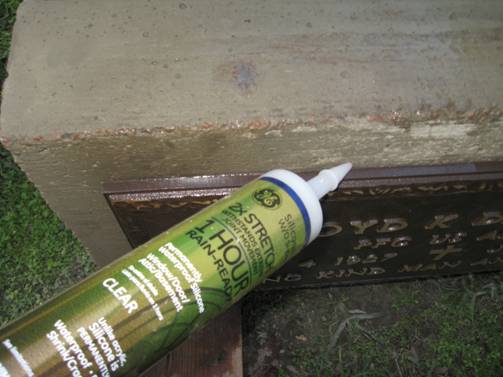
You
may use some clear 100% silicone caulking if you’d like between the marker and
cement to help with the expansion of temperature change of the two different
materials.
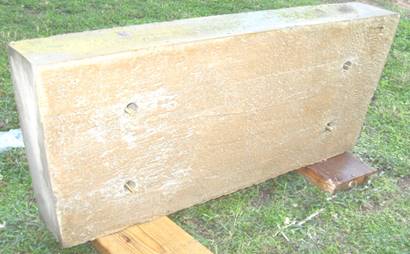
Here’s
my latest project. I was asked to make an upright to replace one that had been
broken.
I
hope you have enjoyed this as much as I have making them and it will be of some
help to other’s interested in preserving vital information.
Pam
(Milliken) Redmond
Arizona Pioneer & Cemetery Research Project
Internet Presentation
Version 101211PR
Copyright ©2003-2011 Neal Du Shane
All rights reserved. Information contained within this website may be
used
for personal family history purposes, but not for
financial profit or gain.
All contents of this website are willed to the
Arizona Pioneer & Cemetery Research Project (APCRP).
HOME | BOOSTER | CEMETERIES | EDUCATION | GHOST TOWNS | HEADSTONE
MINOTTO | PICTURES | ROADS | JACK SWILLING | TEN DAY TRAMPS